When dealing with frozen pipes, it's like navigating through a labyrinth of ice, trying to find your way to warmth and functionality. But what happens when the cold grips your plumbing, halting the flow of water?
You're left with a situation that requires careful handling and a systematic approach. In the following steps, we will guide you through the process of safely thawing frozen pipes, ensuring a smooth transition back to normalcy.
Key Takeaways
- Act promptly to prevent bursting and water damage by identifying frozen pipes early.
- Use appropriate heat sources like a hairdryer or heat lamp for safe thawing.
- Monitor the thawing process carefully to prevent leaks or pressure build-up.
- Prevent future freezing by insulating pipes, sealing gaps, and maintaining home temperature above 55°F.
Identifying the Frozen Pipes
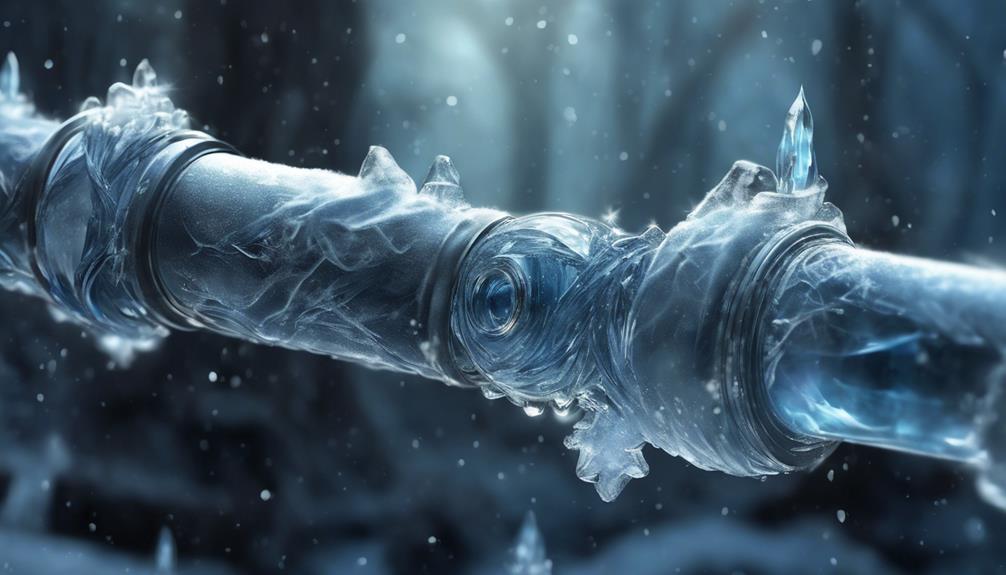
To identify frozen pipes, start by checking for sections that feel extremely cold to the touch and have frost on them. These areas are likely where the water has frozen inside the pipes. Additionally, keep an eye out for warning signs such as reduced water flow or complete lack of water coming out of the faucet when you turn it on. If you suspect a frozen pipe, it's crucial to act promptly to prevent potential bursting and water damage.
The thawing process should be done carefully to avoid damaging the pipes. You can start by turning up the heat in your home to help gradually thaw the pipes. Alternatively, you can use a hairdryer or heat lamp to apply gentle heat to the frozen section. Never use an open flame, as this can pose a fire hazard and damage the pipes.
Gathering the Necessary Tools
Ensure you have the following tools ready before starting the thawing process for frozen pipes.
| Tools | Description |
|---|---|
| Insulating pipes | Insulation sleeves or heat tape to prevent refreezing of thawed pipes. |
| Hairdryer | Use a hairdryer with a nozzle to apply heat directly to the frozen sections of the pipes. |
| Towels | Have towels handy to clean up any water leakage that may occur during the thawing process. |
| Bucket | Keep a bucket nearby to collect any water that may drip from the pipes as they thaw. |
Insulating pipes is crucial to ensure that the pipes remain unfrozen after the thawing process. Use insulation sleeves or heat tape to cover the pipes and prevent them from freezing again. The hairdryer will help you apply heat precisely to the frozen areas, aiding in the thawing process. Having towels and a bucket ready will enable you to manage any water leaks effectively. Once you have these tools assembled, you will be well-prepared to safely and effectively thaw your frozen pipes.
Applying Heat Safely

Prepare for thawing your frozen pipes by applying heat safely to avoid damage or accidents. When dealing with frozen pipes, it's crucial to use the correct heat sources and follow safety precautions to prevent potential hazards.
- Choose Appropriate Heat Sources:
- Opt for methods like a hairdryer, heat lamp, electric heating pad, or heat tape specifically designed for thawing pipes. Avoid using open flames like blowtorches.
- Safety Precautions:
- Keep flammable materials away from the heat source.
- Never leave the heat source unattended.
- Use heat sources only in well-ventilated areas to prevent carbon monoxide build-up.
- Be cautious when using electrical appliances near water to avoid shocks.
- Gradual Application of Heat:
- Start applying heat to the affected area nearest to the faucet.
- Work slowly along the pipe, allowing the ice to melt gradually to prevent sudden pressure build-up.
- Monitor Progress:
- Check the pipes regularly for any signs of damage or leaks.
- Once water begins to flow, let it run for a few minutes to ensure the pipe is completely thawed.
Monitoring the Thawing Process
As you oversee the thawing process of your frozen pipes, periodically check the temperature of the pipes for gradual melting and avoid sudden pressure buildup. Ensuring safety during the thawing process is crucial to prevent accidents and further damage. To monitor the progress effectively, use an infrared thermometer or a surface thermometer to measure the temperature of the pipes at different points. This will help you track the thawing process and ensure that it is happening uniformly without any areas overheating. Additionally, keep a close eye on any signs of water flow or dripping, as this indicates that the ice blockage is melting.
| Checking Progress Tips | Ensuring Safety |
|---|---|
| Use a thermometer to monitor temperature changes | Wear protective gear such as gloves and goggles |
| Look out for water flow or dripping | Keep a fire extinguisher nearby as a precaution |
| Ensure thawing is uniform along the pipe | Avoid using excessive force on the pipes |
Preventing Future Freezing
To prevent future freezing in your pipes, insulate exposed pipes in unheated areas to maintain a consistent temperature and minimize the risk of them freezing again. Proper insulation techniques and winterizing strategies are essential to safeguard your plumbing system from the harsh effects of cold weather.
Here are four key steps to help you prevent future freezing effectively:
- Apply Pipe Insulation: Use foam or fiberglass pipe insulation sleeves to cover exposed pipes in unheated areas such as basements, attics, and crawl spaces. This added layer of insulation helps retain heat within the pipes.
- Seal Cracks and Gaps: Inspect your home for any cracks or gaps near pipes that could let cold air in. Seal these openings with caulking or insulation to prevent cold drafts from reaching the pipes.
- Maintain Adequate Heat: Keep the temperature in your home above 55°F (12.8°C), even when you're away, to ensure that the pipes stay warm enough to prevent freezing.
- Open Cabinet Doors: In extremely cold weather, open cabinet doors under sinks to allow warm air to circulate around the pipes, especially if they're located on exterior walls.
Frequently Asked Questions
Can I Use a Hairdryer or Heat Gun to Thaw My Frozen Pipes?
You should never use a hairdryer or heat gun to thaw frozen pipes. These methods can cause damage, increase the risk of fire, and even burst the pipes. Safer alternatives include using heating pads or towels soaked in hot water.
How Long Does It Typically Take to Thaw Frozen Pipes Using the Methods Described in the Article?
When thawing frozen pipes using safe methods like those outlined, the thawing time can vary based on pipe length and thickness. On average, expect thawing to take between 30 minutes to a few hours. Remember safety precautions throughout.
What Should I Do if the Pipes Are Still Frozen After Attempting to Thaw Them?
If the pipes remain frozen after attempting to thaw them, consider seeking professional assistance to avoid burst pipes. Focus on insulation and prevention measures to prevent future freezing. Consulting with experts can help address persistent issues effectively.
Is There a Risk of Damaging My Pipes or Causing a Leak While Thawing Them?
To prevent damage while thawing your pipes, avoid sudden temperature changes. Slowly apply heat using safe methods to prevent leaks. Stay vigilant for signs of stress on the pipes, like bulging or cracking, and act promptly.
Are There Any Special Precautions I Should Take if the Frozen Pipes Are Located in a Hard-To-Reach Area?
When dealing with frozen pipes in hard-to-reach areas, consider using insulating materials to prevent future freezing. If access is challenging, seek professional help to avoid causing damage or leaks while thawing the pipes.
Conclusion
In conclusion, with these simple steps, you can safely thaw frozen pipes and prevent any potential damage to your plumbing system.
By identifying the frozen pipes, gathering the necessary tools, applying heat safely, monitoring the thawing process, and taking measures to prevent future freezing, you'll be well-equipped to handle any icy situation that comes your way.
Stay proactive and keep your pipes flowing smoothly all winter long!